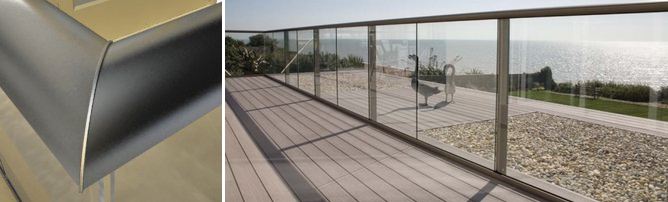
BALCONY 2 GLASS BALUSTRADE INSTALLATION
The below is a concise summary of how to install the balcony 2 system.
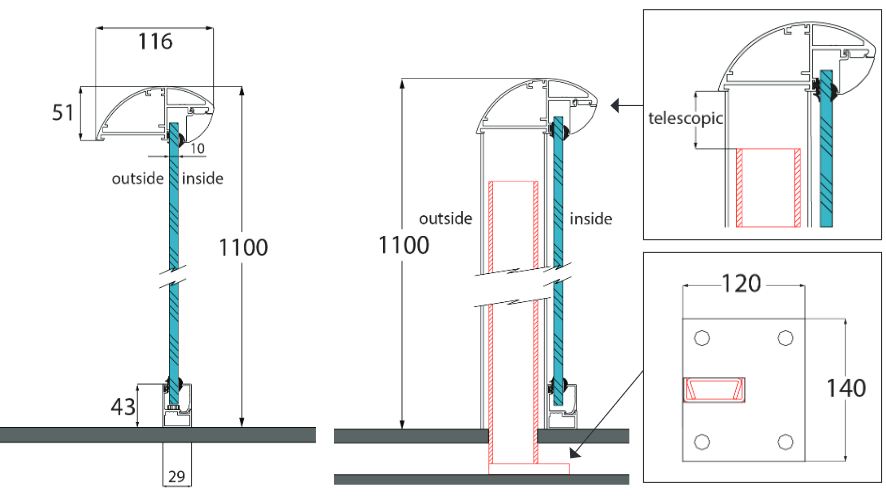
- Place the balcony 2 handrail (116mm wide) on the balcony or floor in the correct position to ensure that dimensions fit
- Mark lines on the inside and outside of the handrail line for later positioning of bottom track
- Mark the handrail position at the correct height – use a level
- On both sides where the handrail fixes to the wall – fix the stainless steel end angle brackets firmly to wall
- Lift handrail and drop onto angle brackets
- Drill 4mm holes through brackets into handrail, fix together with 4.8mm self tap screws, do this both sides. If the balustrade is large or a shape that will sag, you will need to prop up the handrail until the glass is fitted and siliconed in place.
- Mark the handrail position at the correct height – use a level,
- On both sides where the handrail fixes to the wall – fix the stainless steel end angle brackets firmly to wall,
- Place the handrail onto angle brackets
- If the balustrade is large or a shape that will sag, you will need to prop up the handrail until the glass is fitted and siliconed in place – Support the rest of the handrail so does not sag
- Drill 4mm holes through brackets into the underside of the handrail
- Using the 4.8mm self-tapping screws provided – screw the bracket into the handrail on both sides. Install/fix bottom track, use line made earlier. Ensure aligned with glass slot in handrail above.
- If in place – remove glazing beads top and bottom.
- Place two spacers for each glass on the bottom rail.
- Make sure you know where each glass is positioned.
- If required use extra spacers to clear any screw heads on the bottom track.
- One at a time place glasses in position each time using the small pieces of glazing beads provided and 3mm rubber gaskets to hold glass temporarily in place.
- In this fashion complete all the glasses and have them all in the correct position with temporary glazing beads and rubber ready to be aligned and straightened.
- Using the additional spacers provided level out and align all the glasses in such a way that you attain the gaps and spacings desired.
- Above the glass panels now place spacers between glass and handrail to ensure handrail is not resting on the glass and to prevent sagging.
- With neutral silicone, continuously and completely fill gap between top of glass and underside of handrail.
- With neutral silicone, continuously and completely fill gap between bottom of glass and track.
- Do not immediately replace the temporary beads with the full length ones
- Let the silicone set and dry.
- When silicone is completely dry, remove the temporary small glazing beads and rubber gaskets and Replace the full length glazing beads.
- Push in the internal 3mm rubber gaskets into handrail and bottom track, between glass and glazing beads, to ease the process you can use soapy water.
